Login failures lock users out of your app. From forgotten passwords to broken authentication flows, a bad login experience is a nightmare for both users and support teams.
While a simple login screen seems easy to test, complexity grows fast when you introduce two-factor authentication (2FA), magic links, SSO, or team-based accounts. Can your tests keep up?
In this guide, we’ll show you how to automate 2FA email verification using Selenium and Mailsac. You’ll send a real email, extract the one-time password (OTP) programmatically, and validate authentication—ensuring your app’s login works flawlessly.
Selenium & Mailsac Prep
You’re already familiar with Selenium—after all, it’s a core tool for browser automation. (Fun fact: we’re a proud Selenium sponsor!)
Have you worked directly with WebDriver? WebDriver is what allows Selenium to control a browser just like a real user—clicking buttons, filling out forms, and navigating pages. For our automated 2FA test, we’ll use WebDriver to interact with the login flow, retrieve the OTP from an email, and complete authentication.
Step 1: Install Selenium for Javascript
Let’s start by installing Selenium via npm:
npm init
npm install selenium-webdriver chromedriver dotenv
You’ll also need to install chromedriver by manually downloading it from Google or from your package manager. For example for macOS:
brew install chromedriver
Step 2: Sign Up At Mailsac for Email Testing
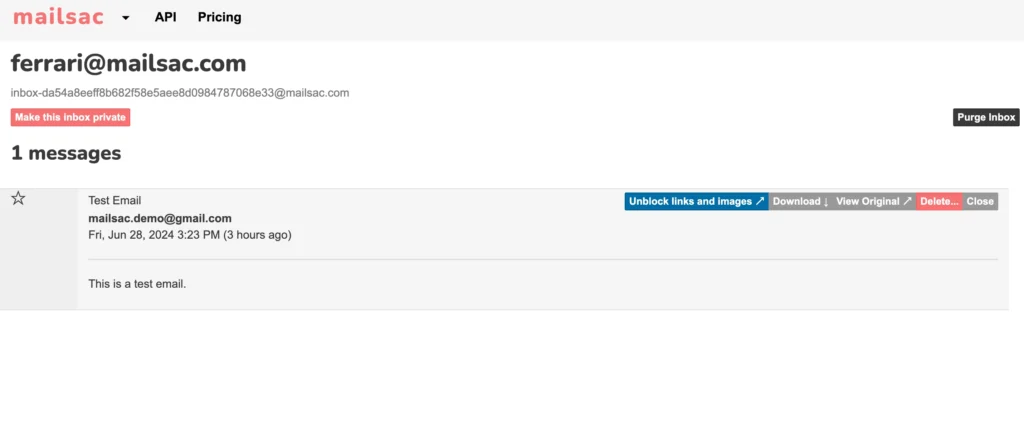
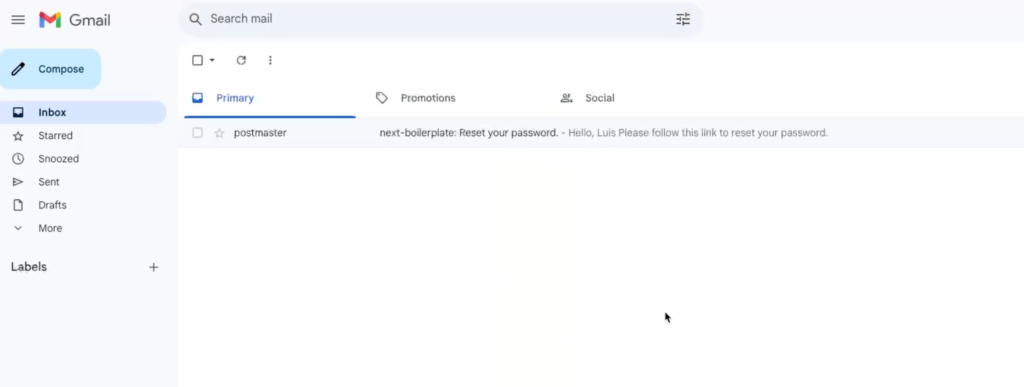
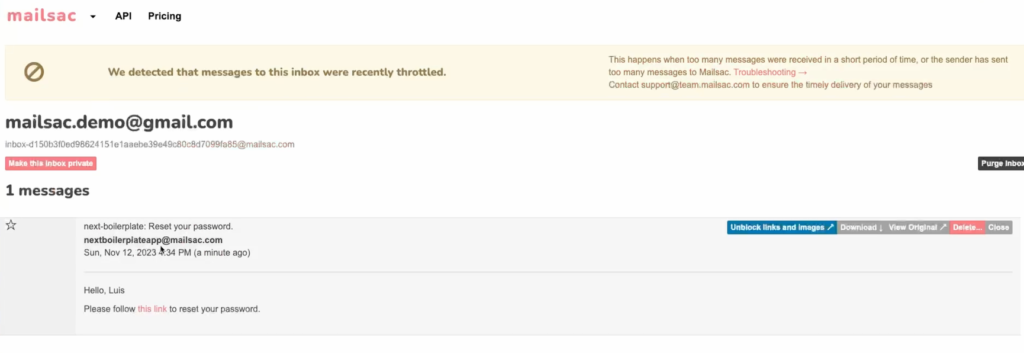
Mailsac provides disposable email addresses and an API to fetch incoming emails. We’ll use it to verify that a 2FA email is received and contains the correct code.
Why Use Mailsac?
- Eliminate reliance on real email accounts → No need to clutter your inbox with test emails or use shared email accounts.
- Prevents rate-limiting & spam issues → Disposable email addresses is the core feature and is extremely quick.
- Automates email verification → You can fetch emails instantly via API or receive them over web sockets.
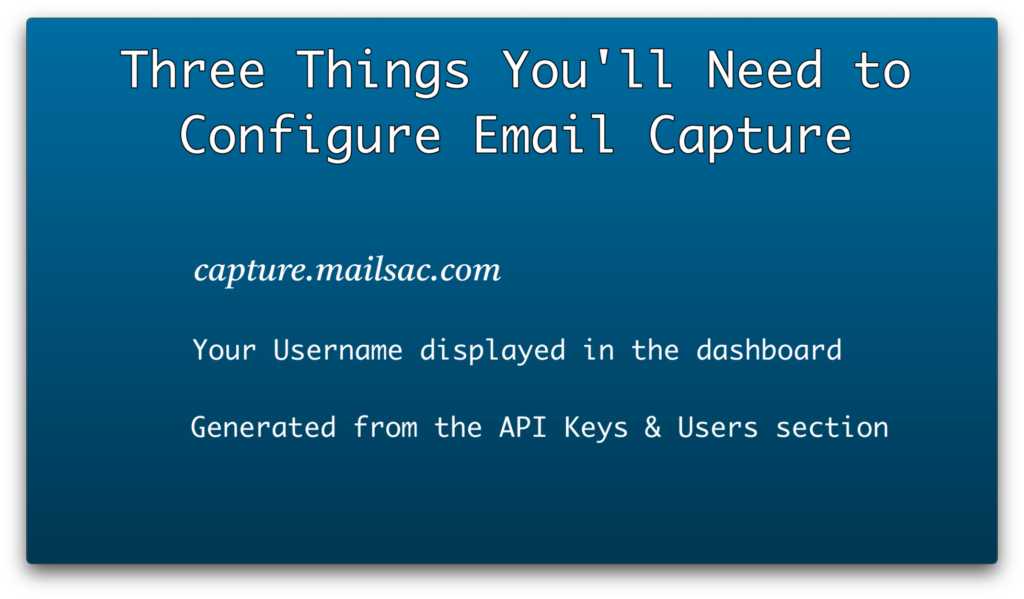
Setting Up Mailsac API Access
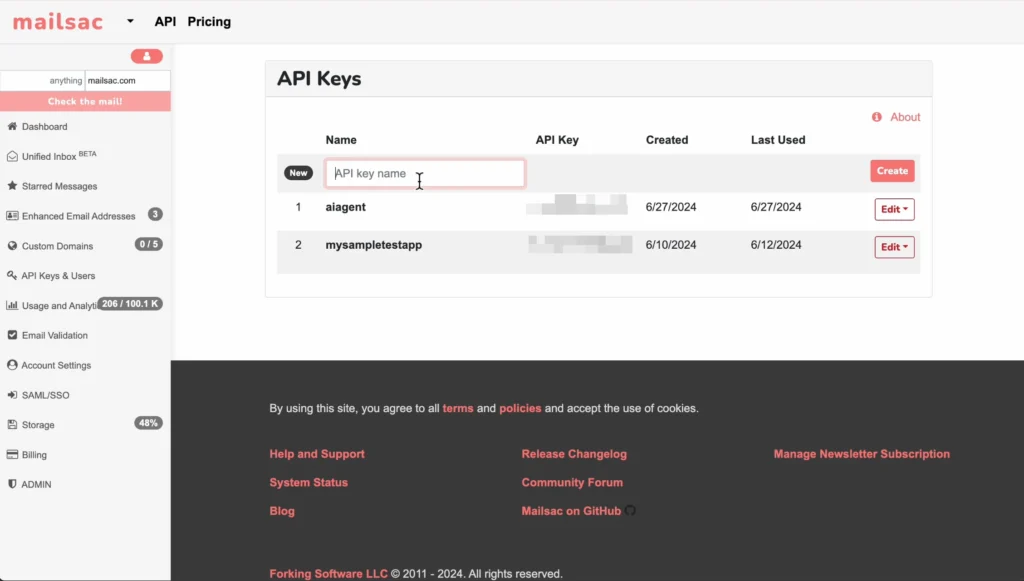
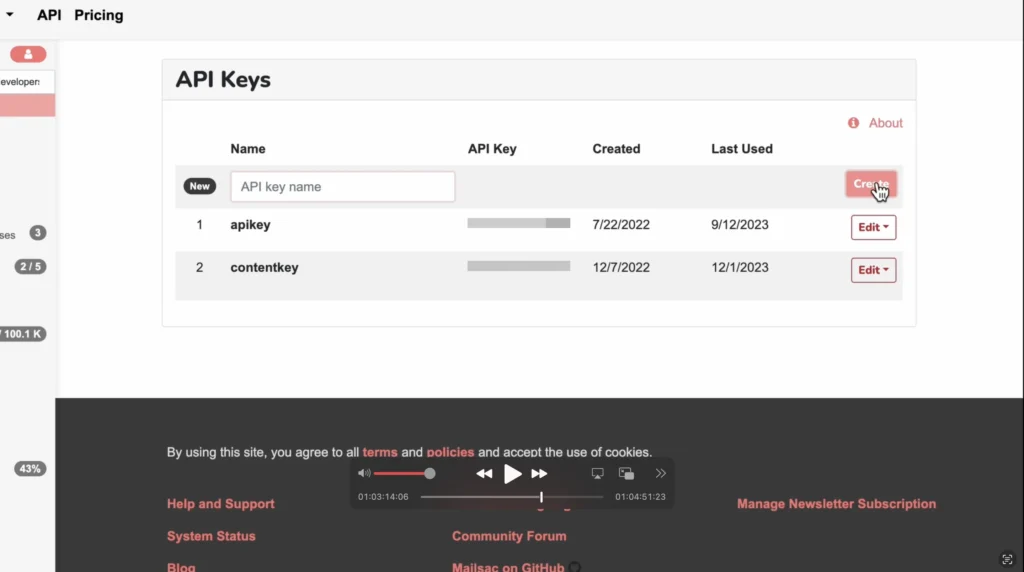
1. Create a Free Mailsac Account:
- Go to mailsac.com and sign up.
- Navigate to your Dashboard then Credentials and API Keys to generate an API key.
2. Install Mailsac’s API Client
Install the official mailsac API client:
npm install @mailsac/api dotenv
3. Store Your API Key Securely
Never hardcode your API key. Use environment variables by creating a .env file:
MAILSAC_API_KEY=your-api-key-here
Now that we’ve installed Selenium and set up our Mailsac account, we can start writing our test script to automatically log in, retrieve the 2FA code, and verify it in our application.
Our Sample App
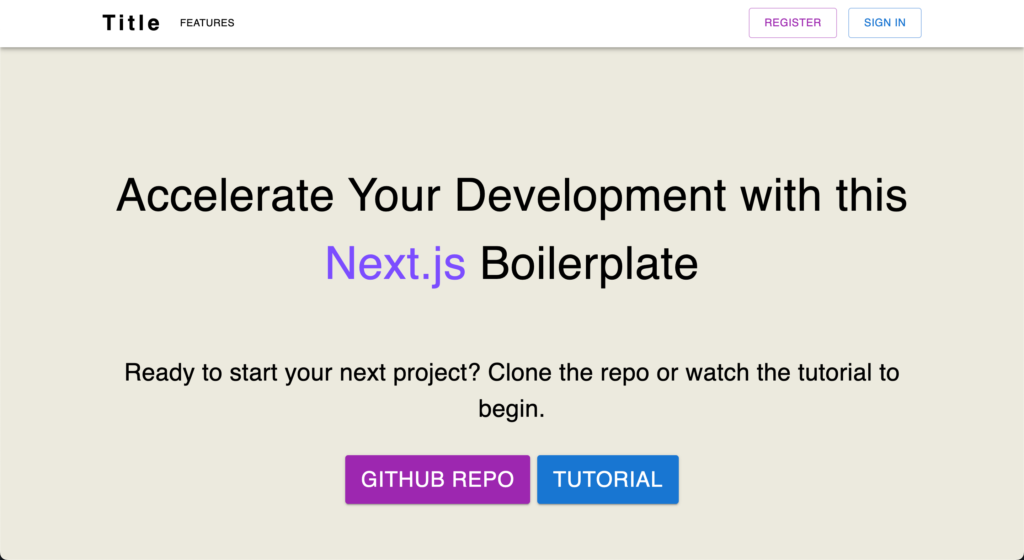
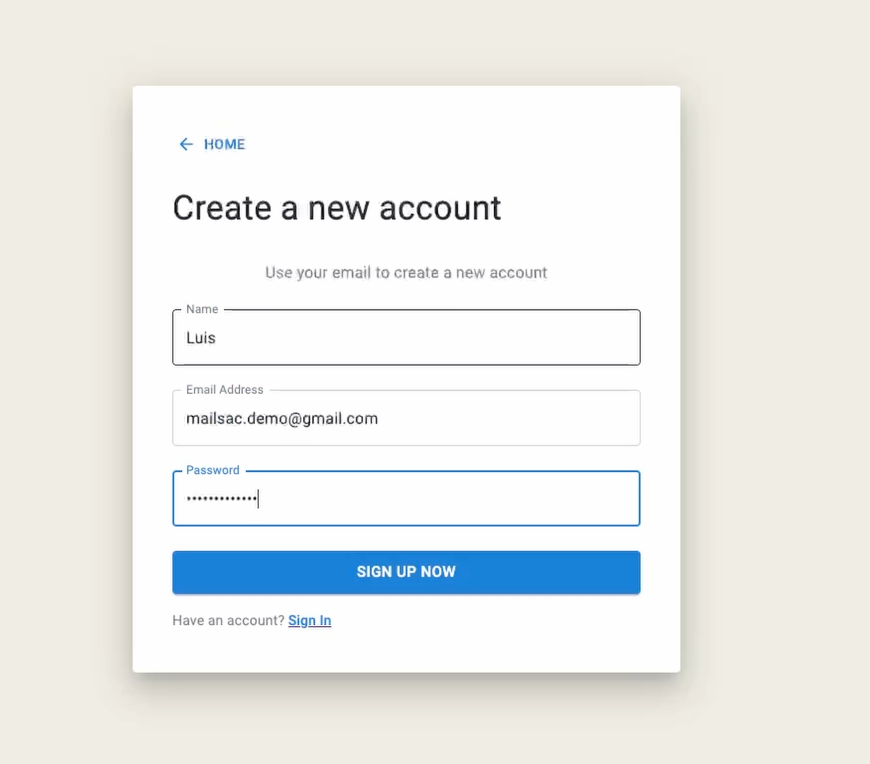
Let’s introduce our sample application that we’re going to test, called “Active Forums”.
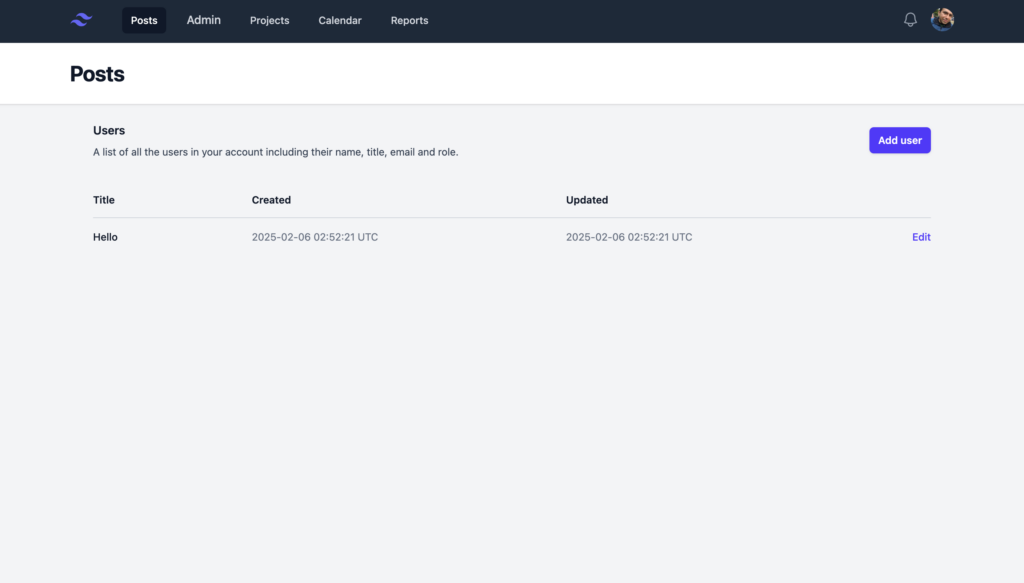
It’s an early version of a forum application. It’s got the basic logic of Sign In, the landing page that shows you all your posts, and the Admin Panel
Pages We’re Interested In Testing
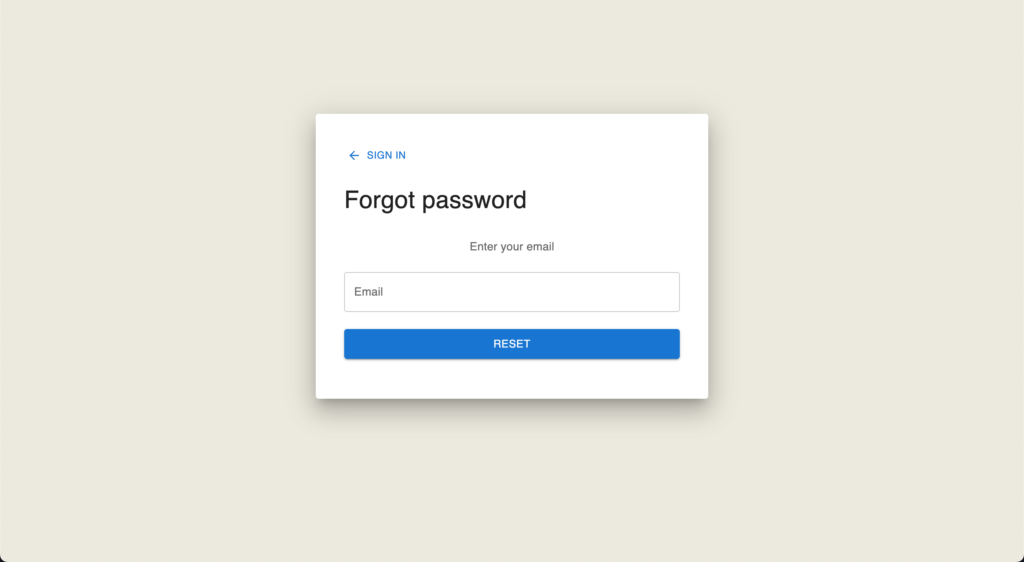
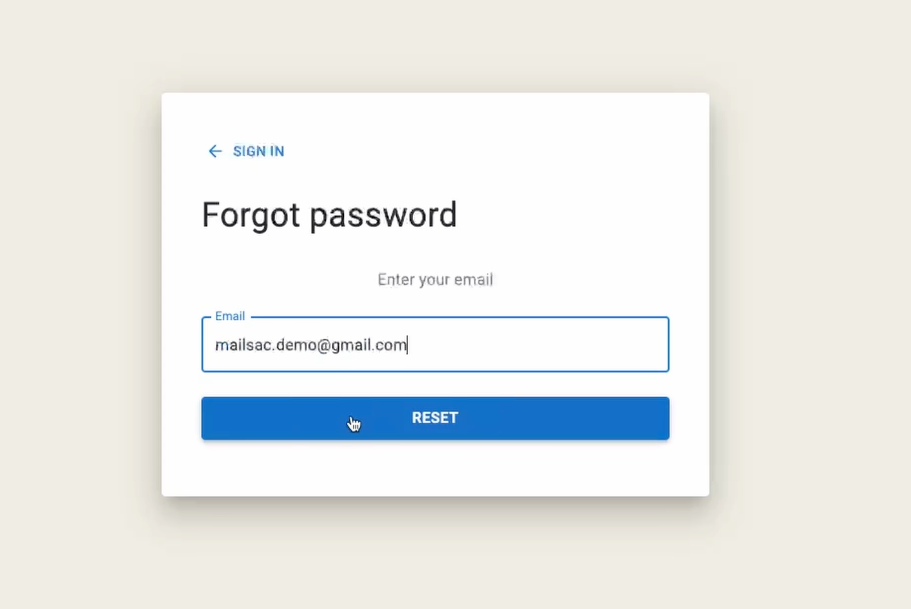
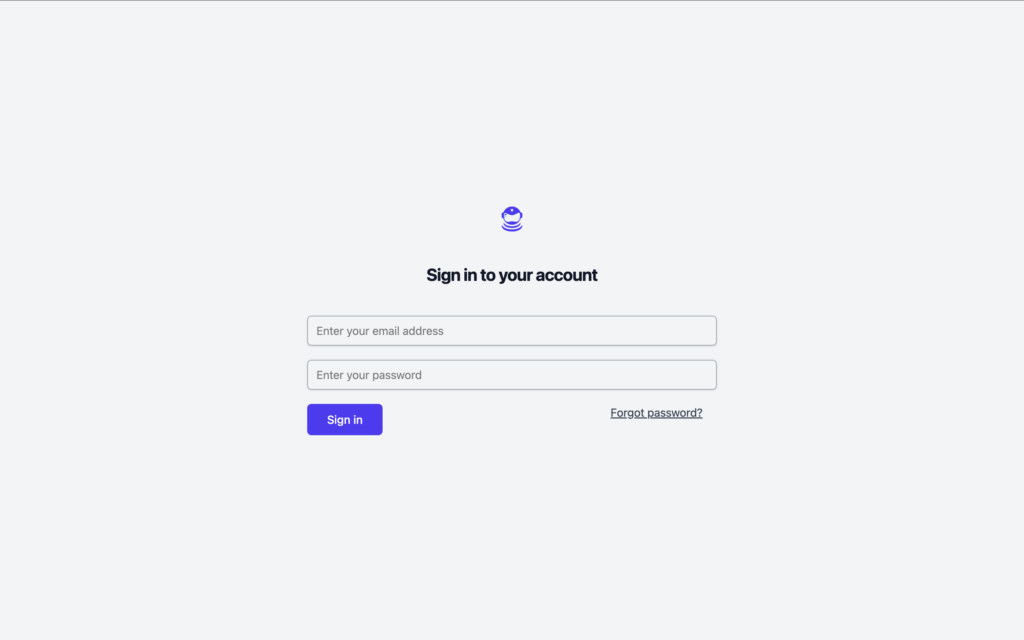
Sign In
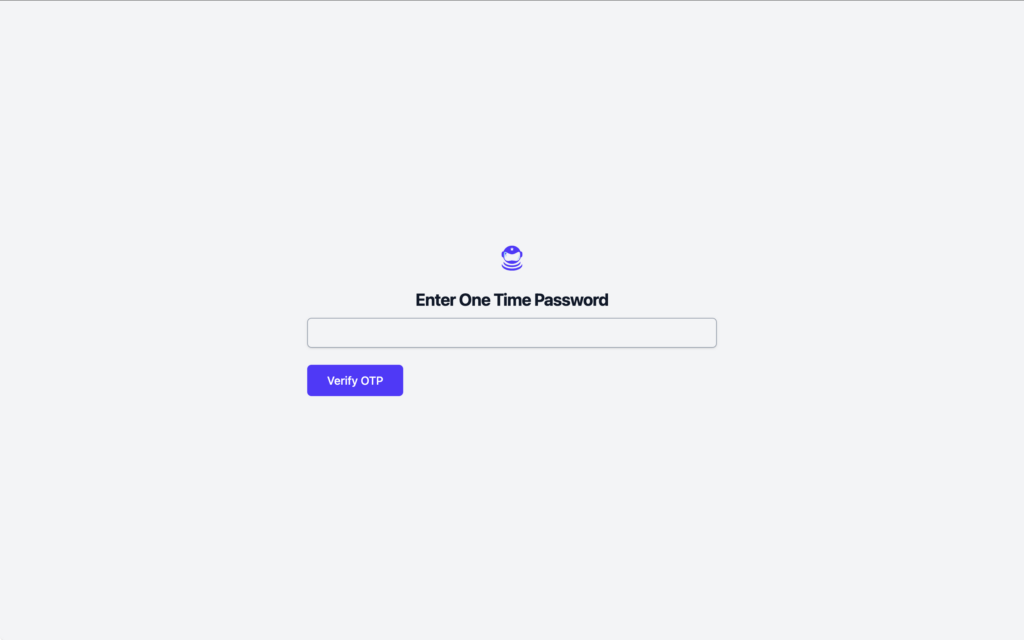
One Time Password
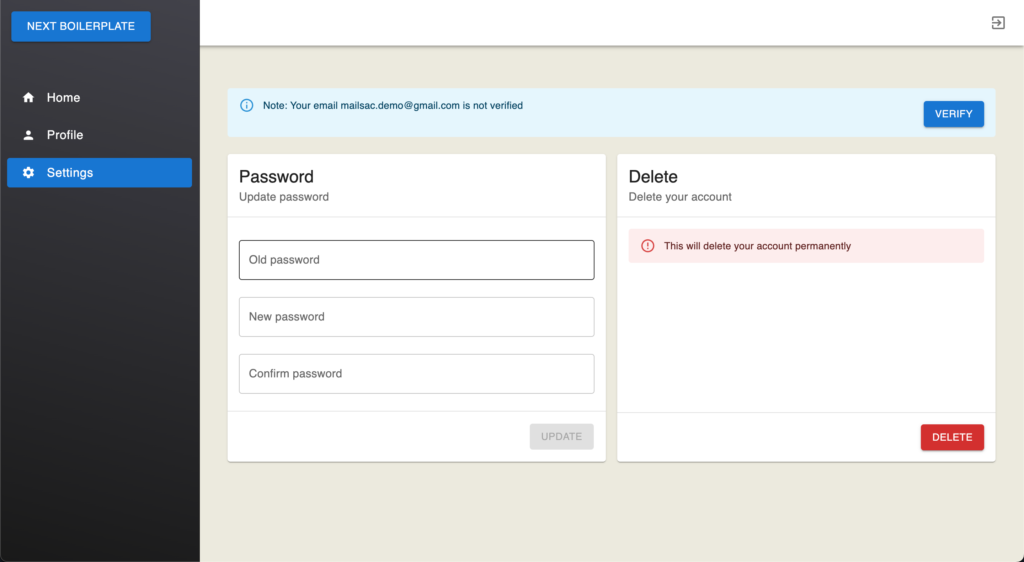
Landing Page
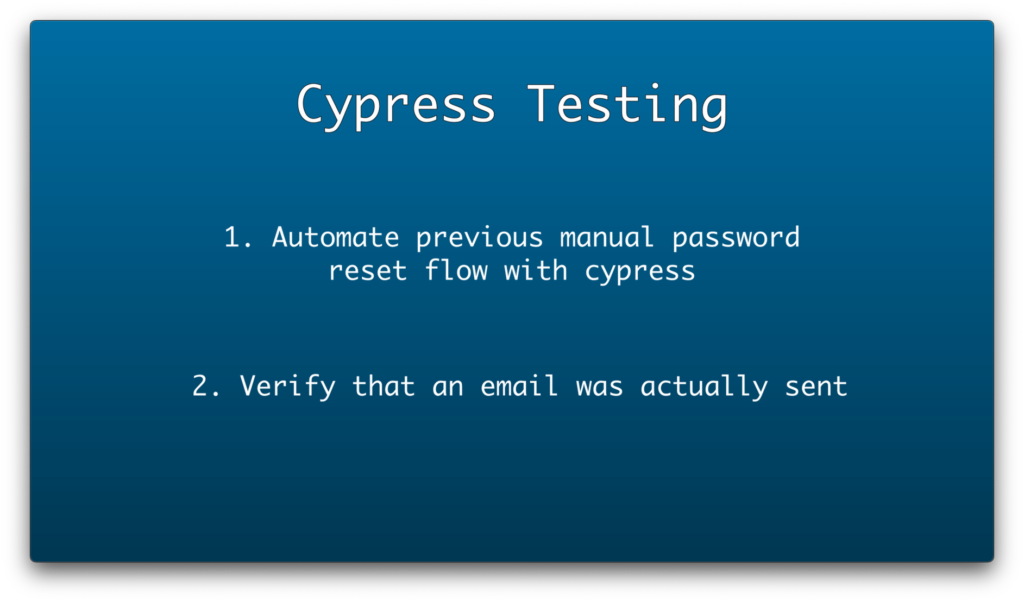
Automating The Entire Login Process
Let’s automate the process of logging in, retrieving the 2FA code, and verifying it.
Step 1: Automate the Login Process
Our first task is to navigate to the login page, enter the username and password, and submit the form.
1.1 Initialize Selenium WebDriver
const { Builder, By, until } = require('selenium-webdriver');
require('dotenv').config();
const { Mailsac } = require('@mailsac/api');

async function login(emailAddress,accountPassword) {
    let driver = await new Builder().forBrowser('chrome').build();
    try {
        await driver.get("http://localhost:3000/users/sign_in");
        await driver.findElement(By.id("email")).sendKeys(emailAddress);
        await driver.findElement(By.id("password")).sendKeys(accountPassword);
        await driver.findElement(By.id("sign-in")).click();

    } catch (error) {
        console.error("Login test failed:", error);
    }
    return driver;
}
Here we:
- Open the login page.
- Enter the incorrect username and password into the form fields.
- Click the login button.
- Enter the correct login details
- Return the driver back for the 2FA check.
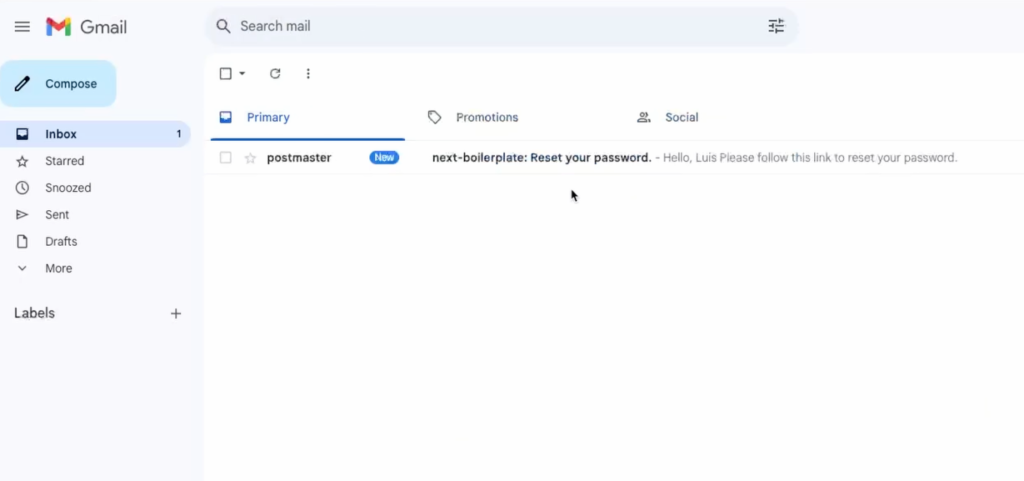
Step 2: Retrieve the 2FA Code via Mailsac API
Once the user is on the 2FA screen, we need to fetch the one-time code from the email inbox.
Load the API in the script:
require('dotenv').config();
const { Mailsac } = require('@mailsac/api');
Now, we write a function to check the inbox and extract the 6-digit code from the email.
async function get2FACode(emailAddress) {
try {
console.log(`Checking inbox for: ${emailAddress}`);
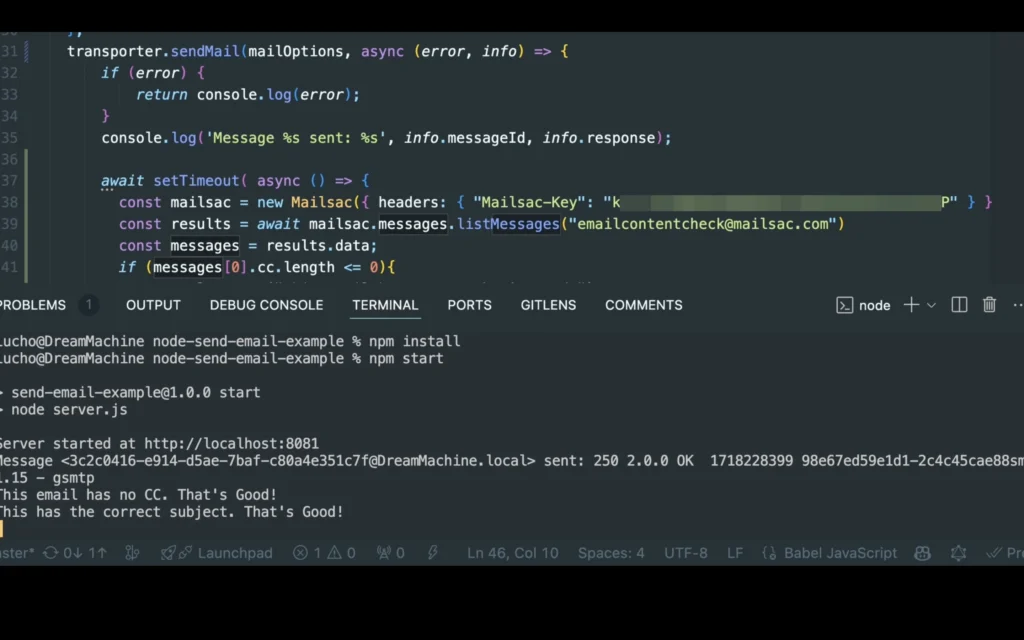
// Fetch the latest messages from the inbox
const mailsac = new Mailsac({ headers: { "Mailsac-Key": process.env.MAILSAC_API_KEY } });
const results = await mailsac.messages.listMessages(emailAddress);
const messages = results.data;
if (!messages.length) {
console.log("No 2FA email received yet.");
return null;
}
// Get the latest message ID
const latestMessageId = messages[0]._id;
// Fetch email body
// const emailBody = await mailsac.messages.getMessage(latestMessageId);
const emailBody = await mailsac.messages.getBodyPlainText(emailAddress,latestMessageId,{ download : true });
// Extract 6-digit 2FA code using regex
const match = emailBody.data.match(/\b\d{6}\b/);
if (match) {
console.log(`2FA Code found: ${match[0]}`);
return match[0];
} else {
console.log("No 2FA code found in email.");
return null;
}
} catch (error) {
console.error("Error retrieving 2FA email:", error);
}
}
What This Does:
- Checks the Mailsac inbox for a new email.
- Extracts the latest email’s content.
- Uses a regex pattern to find the 6-digit 2FA code inside the email body.
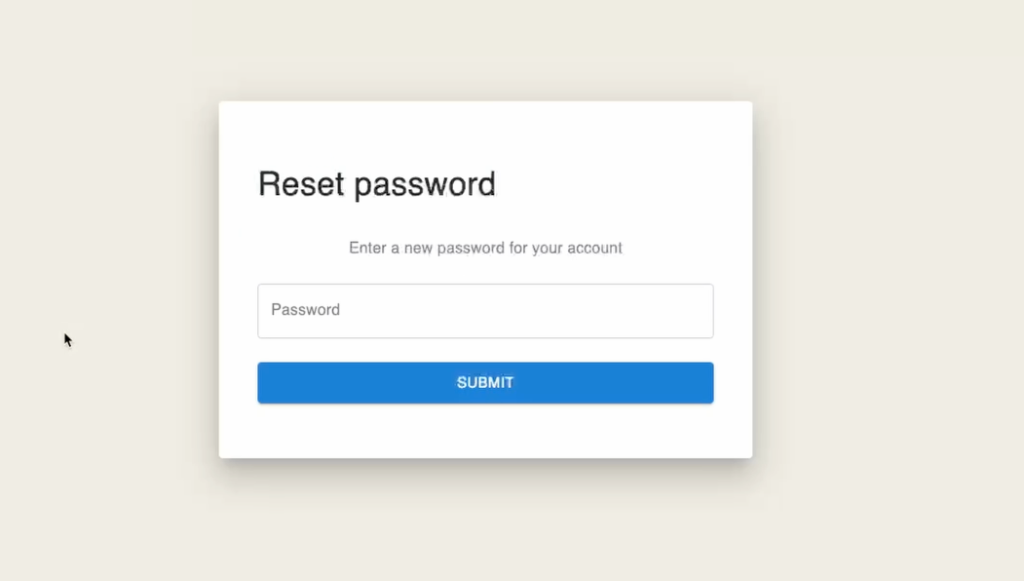
Step 3: Input the 2FA Code in the Login Form
Now that we have the 2FA code, we return to Selenium to enter it into the form.
async function enter2FACode(driver, emailAddress) {
    let attempts = 0;
    let otpCode = null;

    // Polling for 2FA code with a maximum of 5 attempts
    while (!otpCode && attempts < 5) {
        otpCode = await get2FACode(emailAddress);
        if (!otpCode) {
            console.log("Waiting for 2FA code...");
            await new Promise(resolve => setTimeout(resolve, 5000)); // Wait 5 seconds before retrying
            attempts++;
        }
    }

    if (!otpCode) {
        console.error("Failed to retrieve 2FA code after multiple attempts.");
        return;
    }

    try {
        // Enter the 2FA code into the form
        await driver.findElement(By.id("otp_code")).sendKeys(otpCode);

        // Submit the form
        await driver.findElement(By.name("commit")).click();
        console.log("2FA code submitted, verifying login...");

        // Wait for successful login redirect
        await driver.wait(until.urlContains("/"), 10000);
        console.log("Login successful!");
    } catch (error) {
        console.error("2FA verification failed:", error);
    }
}
What This Does:
- Retries up to 5 times to fetch the 2FA code from the email inbox.
- If no code is found, waits 5 seconds before trying again.
- Once the code is found, inputs it into the form and submits it.
- Waits for the dashboard page to confirm successful login.
Step 4: Run the Full Automated Test
Now, we combine everything into a single test flow.
(async function testLogin2FA() {
    const testEmail = "[email protected]";
    const testCreds = "password123";

    // Step 1: Log in
    const driver = await login(testEmail,testCreds);

    // Step 2: Retrieve and enter 2FA code
    if (driver) {
        await enter2FACode(driver, testEmail);
        await driver.quit();
    }
})();
Full main.js File
Here’s what our full file now looks like:
const { Builder, By, until } = require('selenium-webdriver');

require('dotenv').config();
const { Mailsac } = require('@mailsac/api');

async function login(emailAddress,accountPassword) {
    let driver = await new Builder().forBrowser('chrome').build();

    try {
        await driver.get("http://localhost:3000/users/sign_in");
        await driver.findElement(By.id("email")).sendKeys(emailAddress);
        await driver.findElement(By.id("password")).sendKeys(accountPassword);
        await driver.findElement(By.id("sign-in")).click();

    } catch (error) {
        console.error("Login test failed:", error);
    }
    return driver;
}

async function get2FACode(emailAddress) {
    try {
        console.log(`Checking inbox for: ${emailAddress}`);

        // Fetch the latest messages from the inbox
        const mailsac = new Mailsac({ headers: { "Mailsac-Key": process.env.MAILSAC_API_KEY } });
        const results = await mailsac.messages.listMessages(emailAddress);
        const messages = results.data;

        if (!messages.length) {
            console.log("No 2FA email received yet.");
            return null;
        }

        // Get the latest message ID
        const latestMessageId = messages[0]._id;

        // Fetch email body
        // const emailBody = await mailsac.messages.getMessage(latestMessageId);
        const emailBody = await mailsac.messages.getBodyPlainText(emailAddress,latestMessageId,{ download : true });
        // Extract 6-digit 2FA code using regex
        const match = emailBody.data.match(/\b\d{6}\b/);
        if (match) {
            console.log(`2FA Code found: ${match[0]}`);
            return match[0];
        } else {
            console.log("No 2FA code found in email.");
            return null;
        }
    } catch (error) {
        console.error("Error retrieving 2FA email:", error);
    }
}

async function enter2FACode(driver, emailAddress) {
    let attempts = 0;
    let otpCode = null;

    // Polling for 2FA code with a maximum of 5 attempts
    while (!otpCode && attempts < 5) {
        otpCode = await get2FACode(emailAddress);
        if (!otpCode) {
            console.log("Waiting for 2FA code...");
            await new Promise(resolve => setTimeout(resolve, 5000)); // Wait 5 seconds before retrying
            attempts++;
        }
    }

    if (!otpCode) {
        console.error("Failed to retrieve 2FA code after multiple attempts.");
        return;
    }

    try {
        // Enter the 2FA code into the form
        await driver.findElement(By.id("otp_code")).sendKeys(otpCode);

        // Submit the form
        await driver.findElement(By.name("commit")).click();
        console.log("2FA code submitted, verifying login...");

        // Wait for successful login redirect
        await driver.wait(until.urlContains("/"), 10000);
        console.log("Login successful!");
    } catch (error) {
        console.error("2FA verification failed:", error);
    }
}

// Main Test Logic
(async function testLogin2FA() {
    const testEmail = "[email protected]";
    const testCreds = "password123";

    // Step 1: Log in
    const driver = await login(testEmail,testCreds);

    // Step 2: Retrieve and enter 2FA code
    if (driver) {
        await enter2FACode(driver, testEmail);
        await driver.quit();
    }
})();
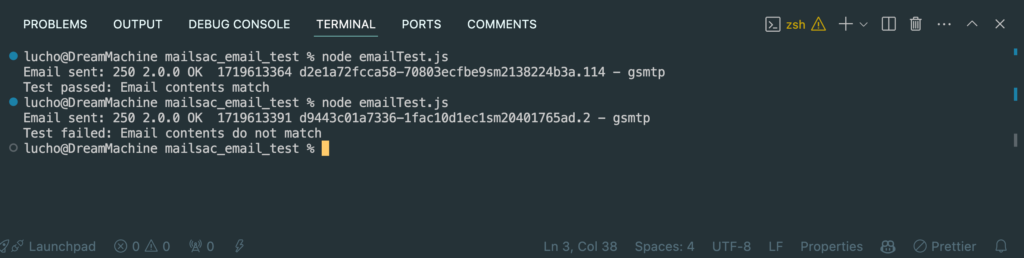
Now try running the whole login test:
node main.js
And just like that we now have an automated way to test outbound emails, logins, one time passwords and correct landing page location!
Automate Your 2FA Testing with Confidence
Login authentication is a critical part of any web application, and failing to test it properly can lead to frustrated users and costly support issues. By combining Selenium for browser automation and Mailsac for email-based 2FA verification, we’ve built a fully automated test that ensures your app’s login process works smoothly.
With this setup, your testing team can:
- Programmatically retrieve real one-time passwords (OTPs) from email
- Automate the entire login flow, including 2FA verification
- Reduce reliance on manual testing and catch authentication issues early
This approach not only saves time but also improves the reliability of your authentication system. You can now integrate this script into your CI/CD pipeline to ensure every update maintains seamless login functionality.
Visit our forums if you have any questions. Now it’s your turn—try running the script, tweak it for your specific use case, and start automating your login tests today!