If you’re in the business of making or testing software, you’re well aware of the critical role email functionality can play in applications. Particularly in sensitive workflows like user sign-ups and password resets. Testing these features however can often be a complex and daunting task. This is where Cypress and Mailsac come in. Together these two streamline the email testing process; cypress driving it and mailsac capturing and validating any emails that may come out of your testing.
Join me as we explore how you can leverage these powerful tools to automate and enhance your testing workflow, ensuring a seamless user experience in your applications.
This article acts as a companion guide to the video linked at the top. Here, we’ll quickly walk through the topics mentioned in the video but also expand some areas and provide the code that the video uses.
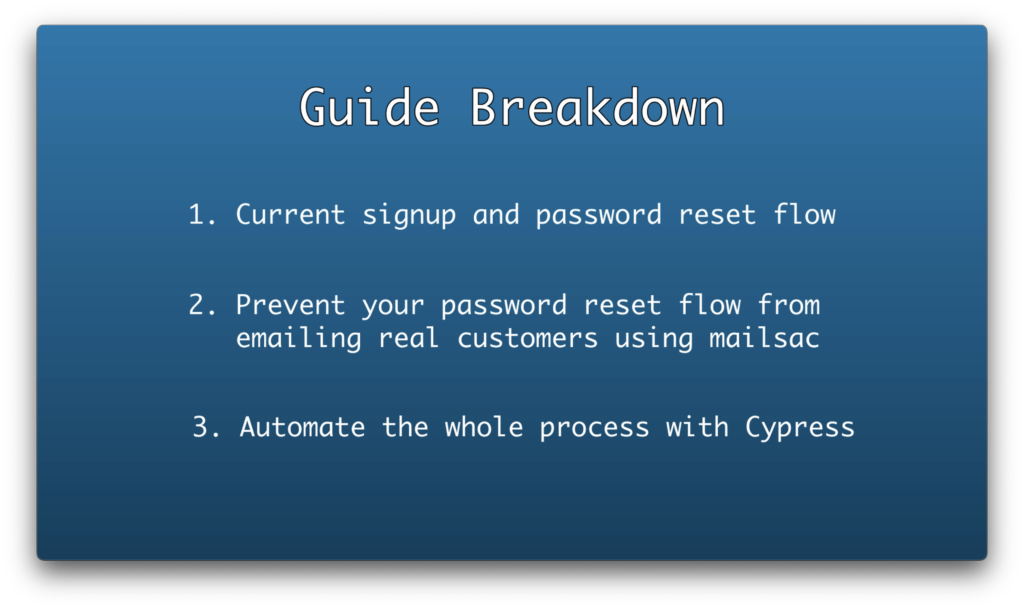
The general path we’ll take in this guide is:
- Walk through our application’s reset flow
- Safeguard against sending emails to real customers
- Automate the password reset process with subject verification with cypress.
Let’s get started!
Setting the Stage: Manually Testing our Next.js App
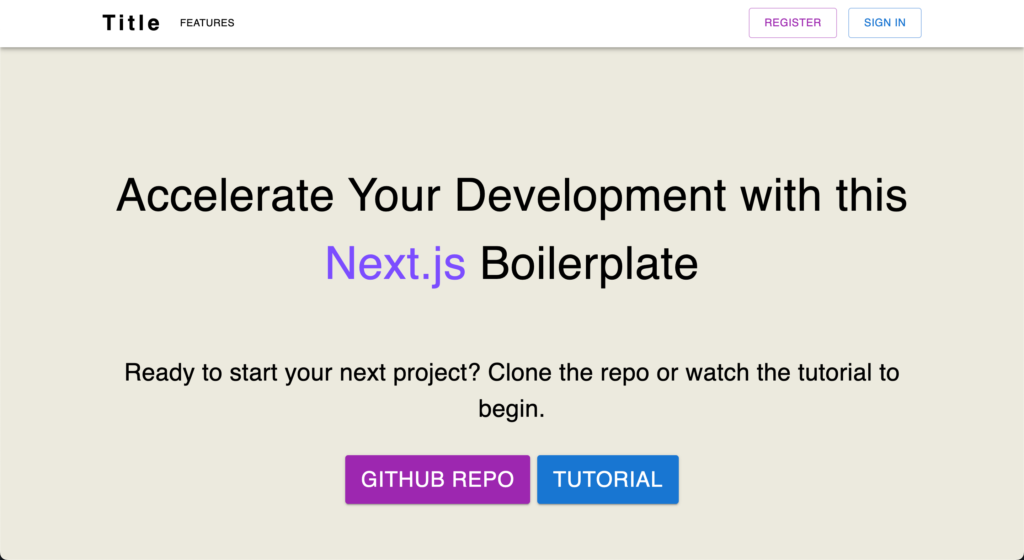
We’ll focus on a simple next.js application equipped with local authentication features. Instead of starting from scratch, we’ll use Martin Persson’s Next.js Authentication Template. The concepts we’ll test are a common part of almost every application, and by using his template we’ll have a starting point (most) of us can agree on. Martin’s application comes complete with login functionality, member-exclusive sections, and importantly, a password reset flow.
Our goal is to show how we can streamline testing the password reset flow, ensuring that branch of your code behaves the same way every time. By the end of this, you’ll have a clear blueprint for applying these techniques in your projects.
Regular Password Reset Speedrun
Let’s do a quick walk through on how we would reset our password in our app.
Create an Account
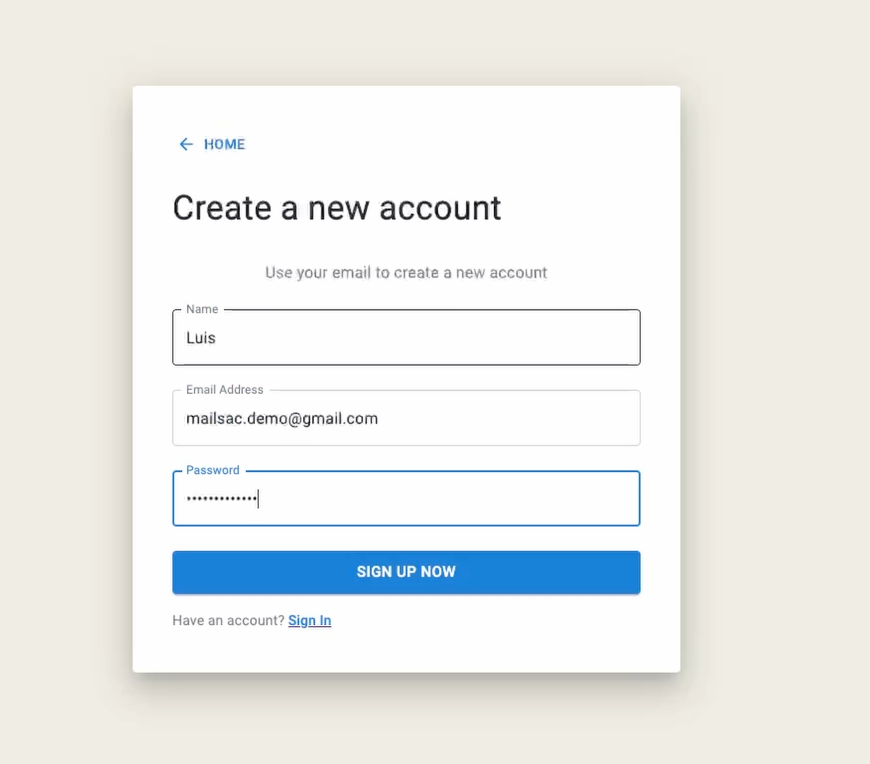
The app doesn’t do any email validation out of the box but it does create and store account credentials in its database.
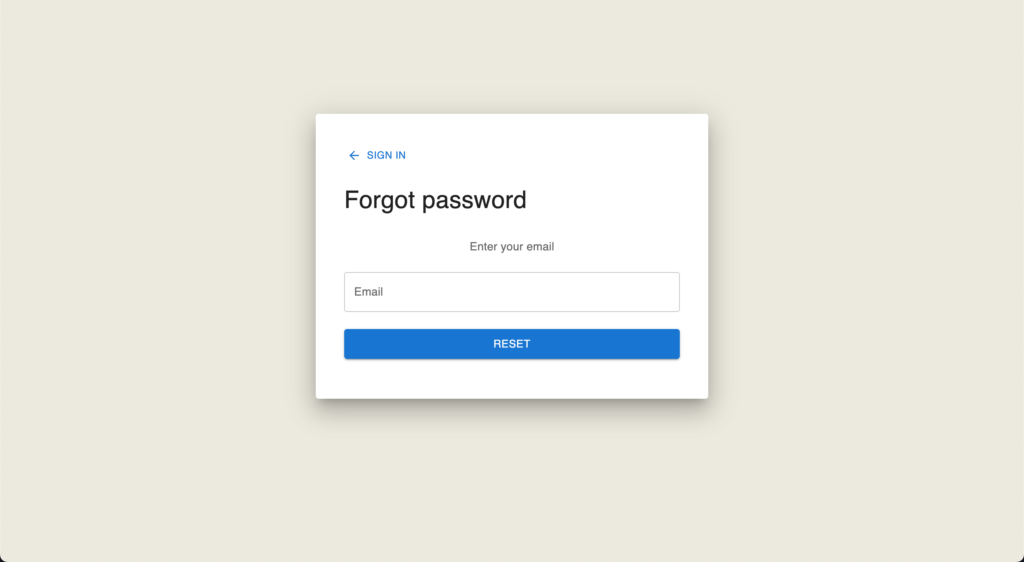
Reset Password To a Real Email Address
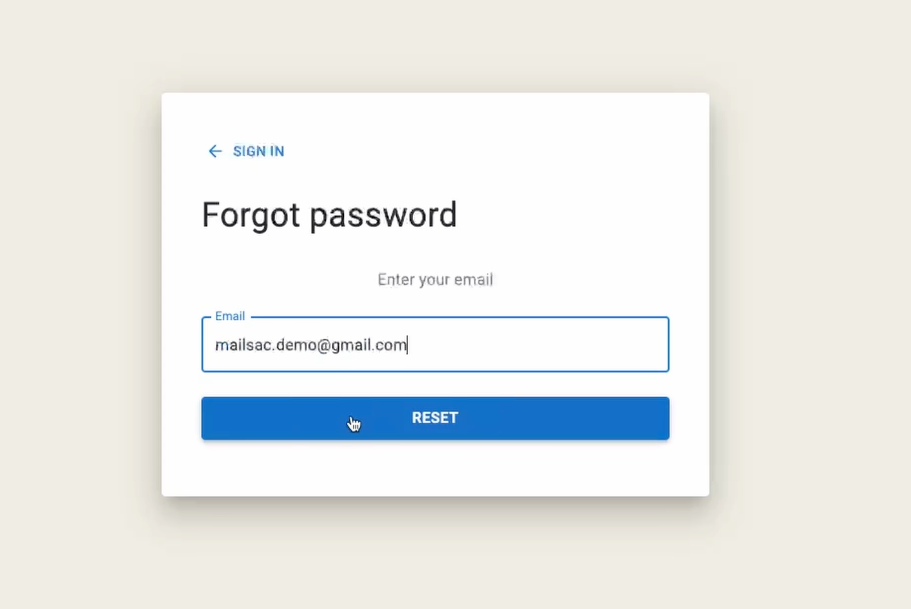
This is a standard password reset flow. The main thing to note here is that the application is sending out transactional emails to real email addresses.
Caveats
During continuous testing we could be building our application and testing its capabilities tens to hundreds of times per month. We’ll need to ensure we don’t send any emails real customers.
This is where Mailsac comes in.
Safeguarding Against Sending Emails to Real Customers
Mailsac has an email capture feature that enables customers to “reroute” any emails generated by your application to an inbox on the mailsac platform. Additional testing capabilities are available including verification of delivered content and ensuring the emails that get sent have the correct subject.
Start Capturing Emails from your Application
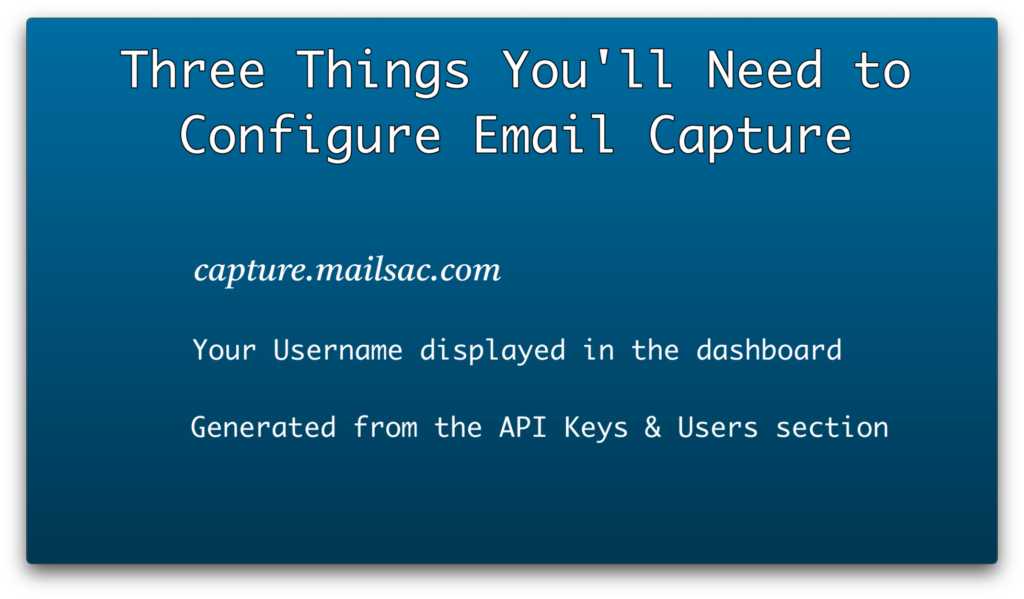
Getting started is extremely easy. Just point your application’s SMTP settings to the mailsac’s servers and all outbound emails will be captured.
Our sample application reads in a .env file:
MONGODB_URI="mongodb://localhost:27017"
WEB_URI="http://localhost:3000"
MAIL_PASSWORD="k_99dfuuifjd"         # Your Mailsac API Key
MAIL_USER="mailsacuser"              # Your Mailsac Username
MAIL_HOST="capture.mailsac.com"
MAIL_PORT="5587"
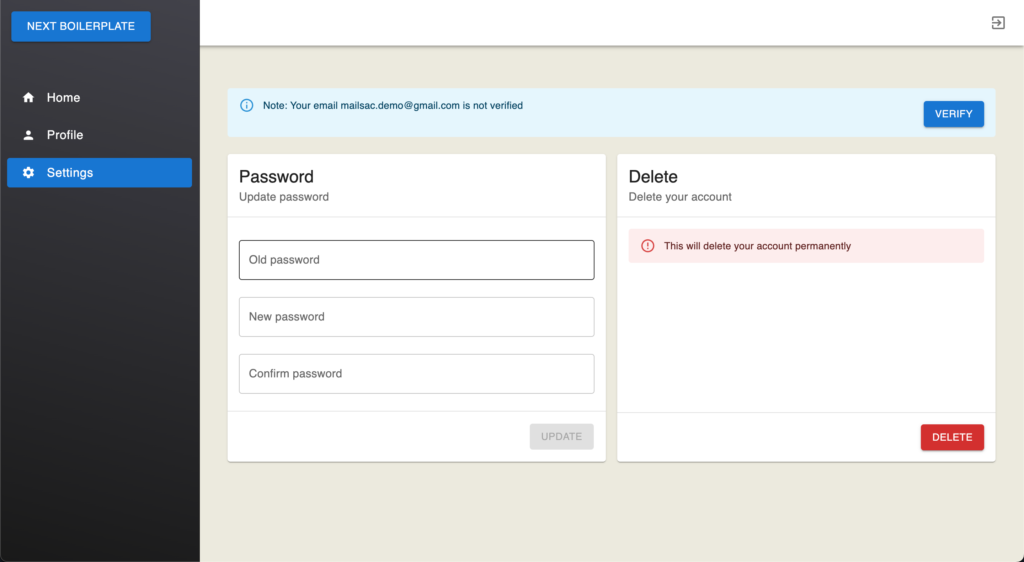
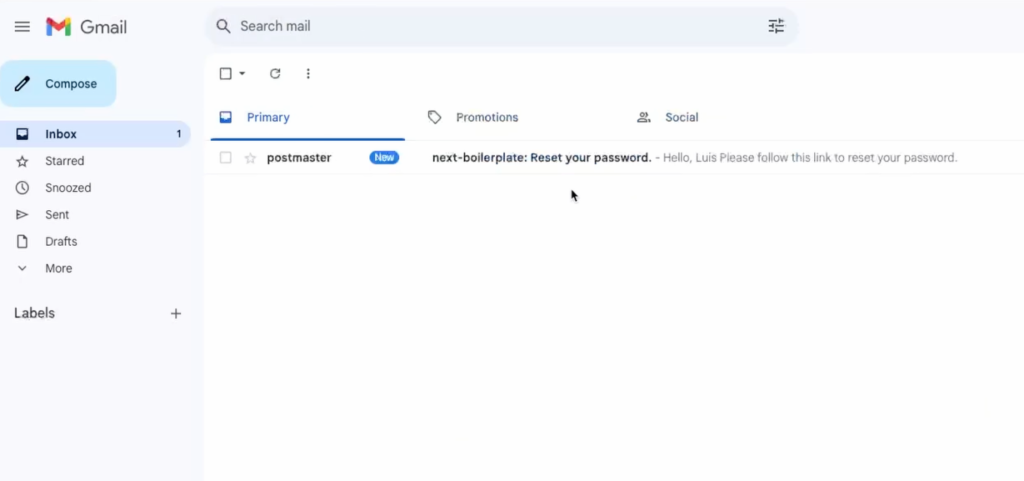
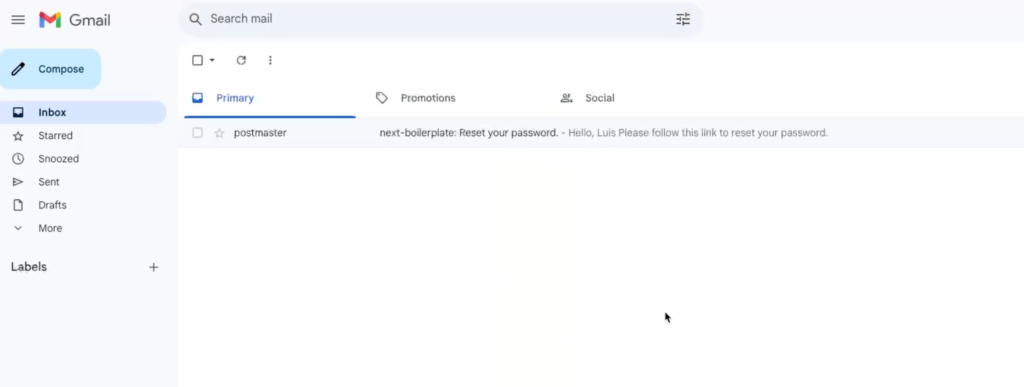
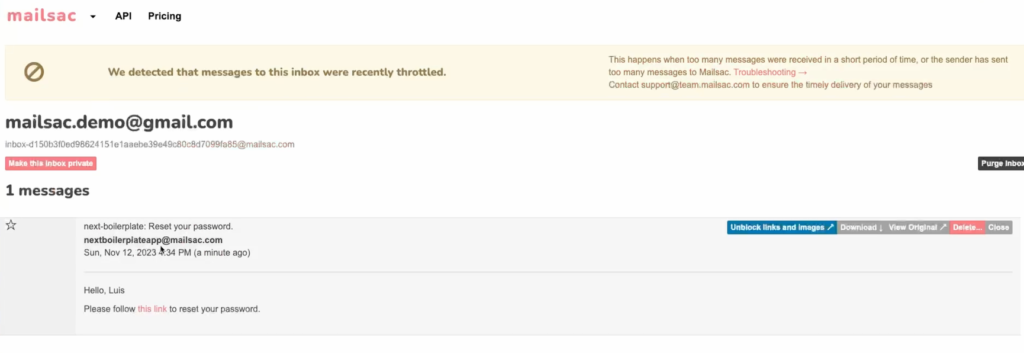
Going through the password reset flow in our application again, we successfully have no emails in our real gmail inbox, and an email in the Mailsac inbox.
Also, we did not create this inbox ahead of time. It was done ad-hoc as the email came into mailsac.
Success. Now we are safe against sending out real emails to customers. Let’s begin the automated testing processes with Cypress
Automatic Testing with Cypress
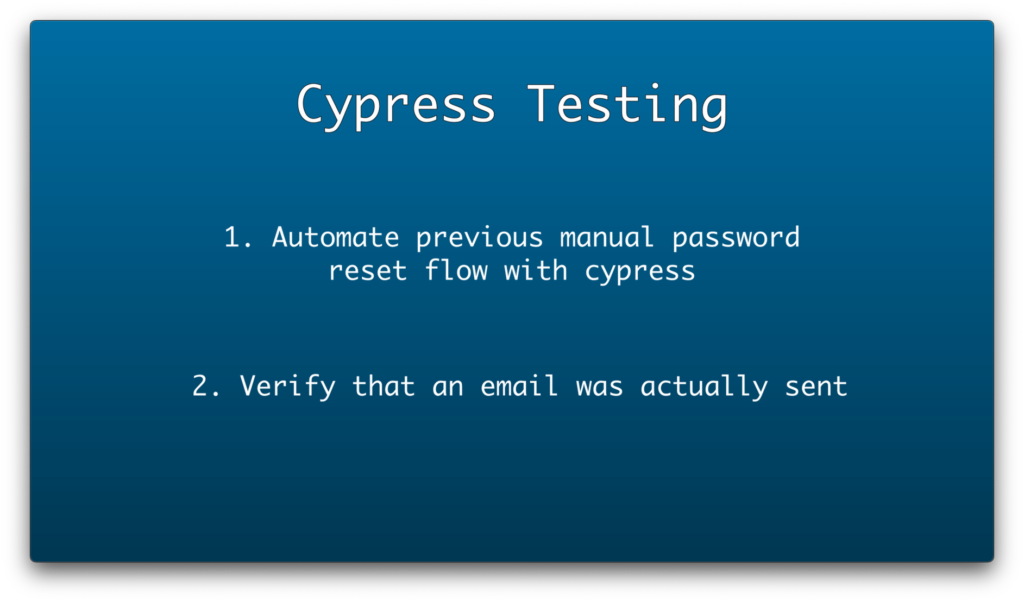
Our goal with cypress is to automate the clicking of a password reset link, and to verify that an email was actually initiated and sent by our application.
Installing and Configuring Cypress
Let’s start by installing cypress
npm cypress install
And then opening up the cypress testing center
npx cypress open
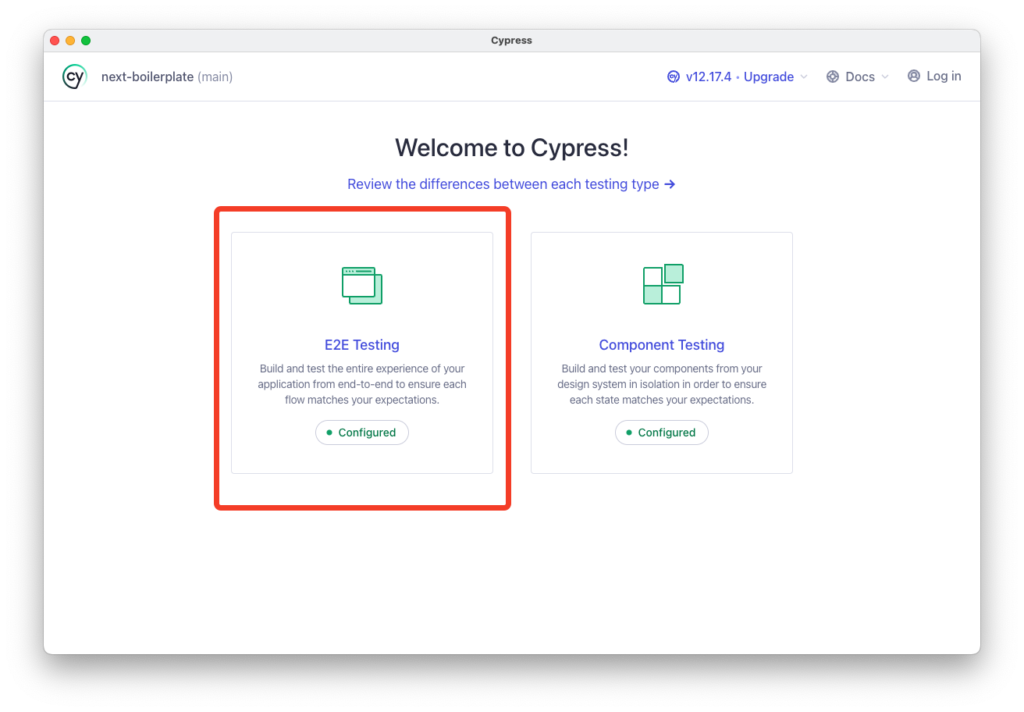
You’ll be greeted by what kind of testing type to initiate. In our case, we’ll use end to end testing
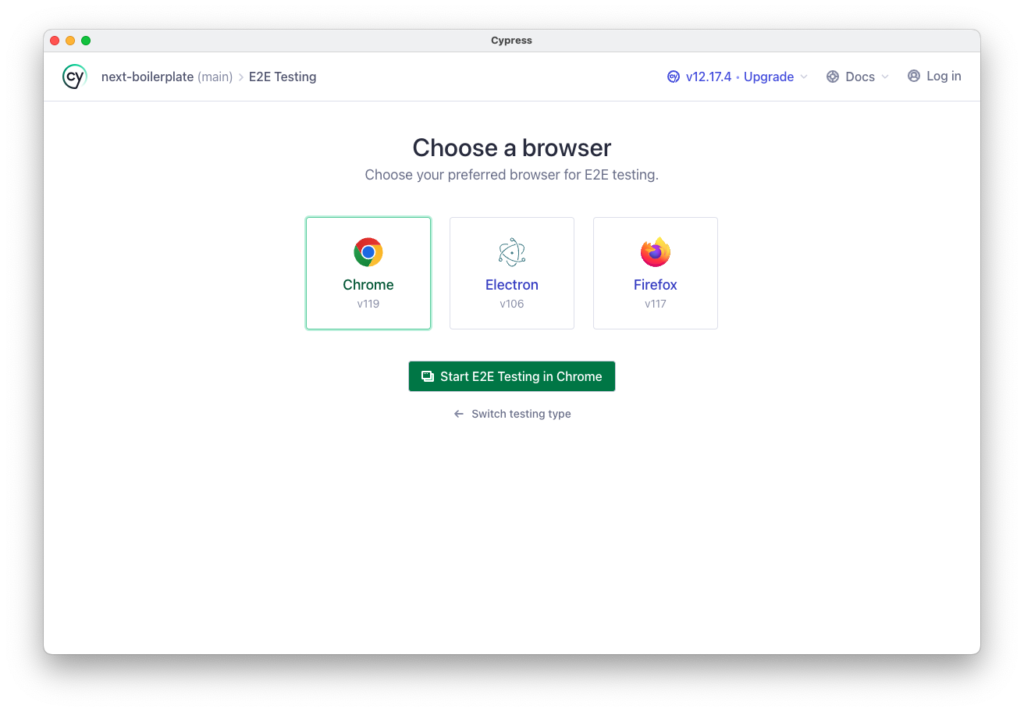
And the included Chrome browser
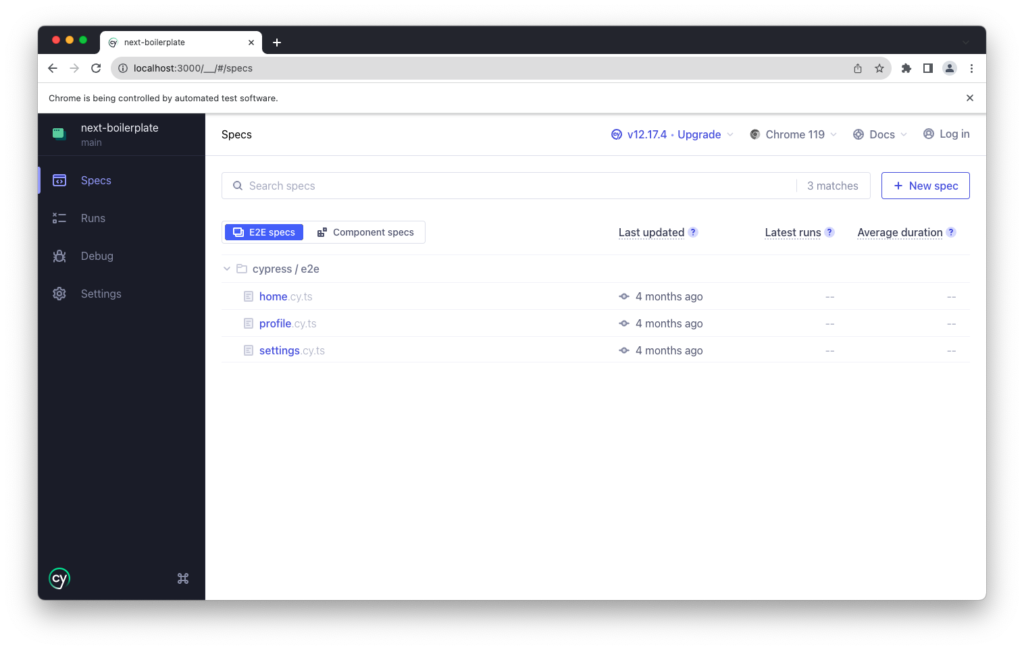
We are then greeted by the testing specs list
And now the real work begins.
Configure Cypress
Our configuration of cypress will need mailsac’s client and dotenv library. Cypress will need this to have the ability to read our application’s .env file
npm install @mailsac/api dotenv
We can now define what exactly a how exactly to execute a checkMailsacMail and deleteAllEmails function
import { defineConfig } from "cypress"
import { Mailsac } from "@mailsac/api"
import * as dotenv from 'dotenv';
dotenv.config();

export default defineConfig({
  e2e: {
    // https://docs.cypress.io/guides/references/configuration#e2e
    baseUrl: "http://localhost:3000",
    defaultCommandTimeout: 15000,
    // Whether or not test isolation is enabled to ensure a clean browser context between tests.
    testIsolation: false,
    setupNodeEvents(on,config ) {
      on('task', {
        async checkMailsacMail(address) {
          const mailsac = new Mailsac({ headers: { "Mailsac-Key": process.env.MAIL_PASSWORD } })
          const messages = await mailsac.messages.listMessages(address);
          return messages.data;
        },
        async deleteAllEmails(address) {
          const mailsac = new Mailsac({ headers: { "Mailsac-Key": process.env.MAIL_PASSWORD } })
          const messages = await mailsac.messages.deleteAllMessages(address);
          if(messages.status === 204) {
            return true;
          } else {
            return false;
          }
        }
      })
    },
  },
  component: {
    devServer: {
      framework: "next",
      bundler: "webpack",
    },
  },
  // Settings
  env: {
    baseUrl: "http://localhost:3000",
    username: "[email protected]",
    password: "password123",
  },
})
The contents of this file are fully explained in the video (Starting at 6:24) but to call out the highlighted lines (13-30):
checkMailsacMail
The checkMailsacMail function initiates a mailsac client and uses the API key provided from the .env file variable, MAIL_PASSWORD. It then calls the listMessages function and passes it up to the calling function to do as it pleases. The function returns a JSON response as outlined in the Mailsac ListMessages documentation.
deleteAllEmails
Similar to checkMailsacMail but of course, deletes all messages in an inbox. Note that the return is a 204 to confirm deletion.
Let’s move on to the actual password testing spec
Password Reset Flow Test Spec
The spec itself is placed in the cypress/e2e/password_reset_flow_success.cy.ts path and contains:
describe('Password Reset Change', () => {
  it('Should successfully change the password', () => {
    cy.visit('http://localhost:3000')

    // Find a button with class and contains text
    cy.get(".MuiButton-root").contains("Sign in").click()

    // The new url should include
    cy.url().should("include", "/login")

    const { username, password } = Cypress.env()

    cy.get("a").contains("Forgot password").click()

    cy.url().should("include", "/forgot-password")

    cy.get("input[name='email']").type(username)
    cy.get("input[name=email]").should("have.value", username);

    cy.get(".MuiButton-root").contains("Reset").click();
    cy.url().should("include", "/login")

    cy.task("checkMailsacMail", username).then((messages) => {
      const resetUrl = messages[0].links[0];
      const subject = messages[0].subject;
      const originalInbox = messages[0].originalInbox;

      expect(subject).to.eq("next-boilerplate: Reset your password.");
      expect(originalInbox).to.eq(username);

      cy.visit(resetUrl);
      cy.url().should("include", resetUrl);

      cy.task("deleteAllEmails", username).then((result) => {
        expect(result).to.eq(true);
      });
    });

  })
})
Cypress will run through this spec file line by line and execute the steps we manually ran through at the beginning of the guide. The highlighted lines are really the structure of the returned JSON from mailsac’s ListMessages API
Final Automation
The the spec file in place, go ahead and run the spec
Wrap up
Combining Cypress and Mailsac is like giving your email testing a super boost. We’ve walked you through the nitty-gritty of automating a password reset flow, making sure your emails hit the mark without bothering real customers. It’s all about making your software solid while keeping things simple and stress-free. Give it a try, save time, and keep your users smiling.
If you have any questions about the guide or if you get stuck feel free to ask us anything in our forums.