Today, we’re tackling a big question: With the rise of code generators and AI that can make UI elements based on a single drawing, will AI take your software testing job?
The short answer is no. Today we can safely tell you that no, AI won’t take your job. Instead, we think it will enhance the way you work. Let’s see how we can make AI a powerful ally for software testers.
Role of AI in Software Testing
We like to think of AI in the testing world’s context as a controlled chaos maker. We can simulate some parts of being human to introduce some unpredictability in our tests and see if our app mitigates against the chaos.
Instead of fighting AI, let’s embrace it. One of the ways we can do that is if we can have it write test cases for us, execute it, then tell us if it passed or not.
We can then easily move those generated tests to a framework like cypress or to a continuous integration environment like GitHub Actions.
So for the rest of the article, we’ll show you how you can have ai make a test case that:
- Generates and sends an email.
- Reads the contents of said email from the user’s inbox.
- Ensures that contents of 1 and 2 are the same.
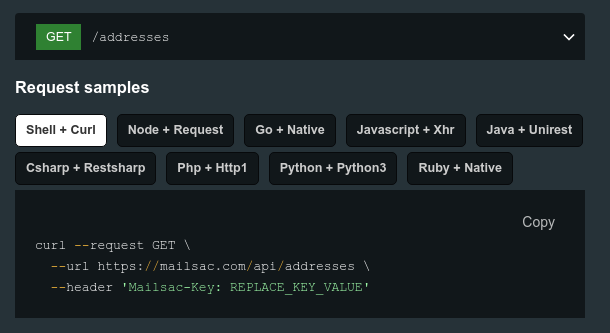
To be safe and not risk sending any emails out to customers, we’ll use Mailsac and its API.
Making the Assistant
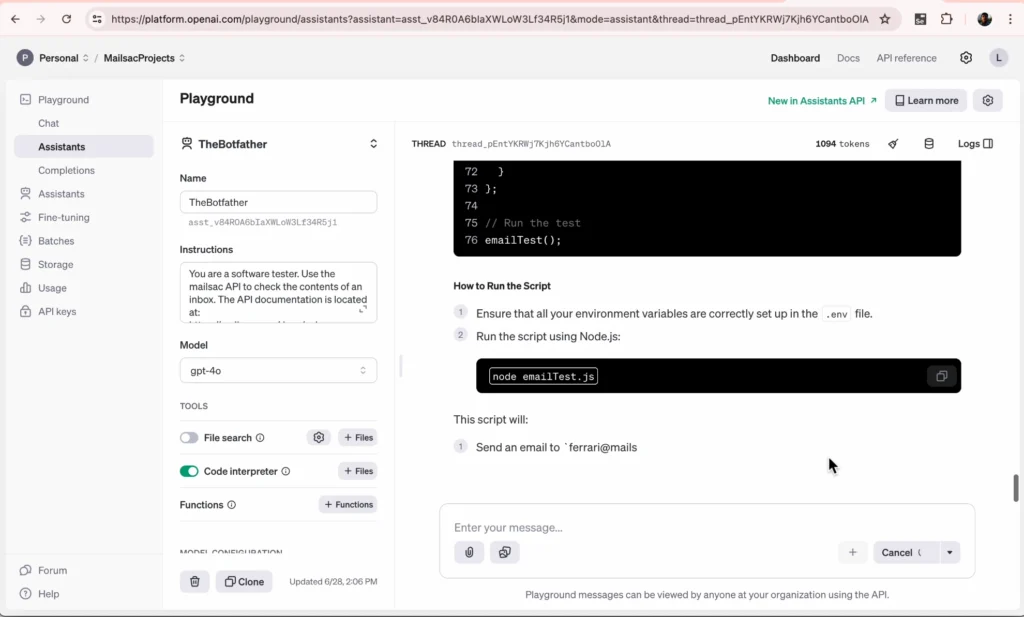
So for this walkthough we’re going to be using OpenAI’s “Assistant” feature. Assistants are a little bit more of a halfway point between the chat AI we all know, and an AI agent that is more autonomous.
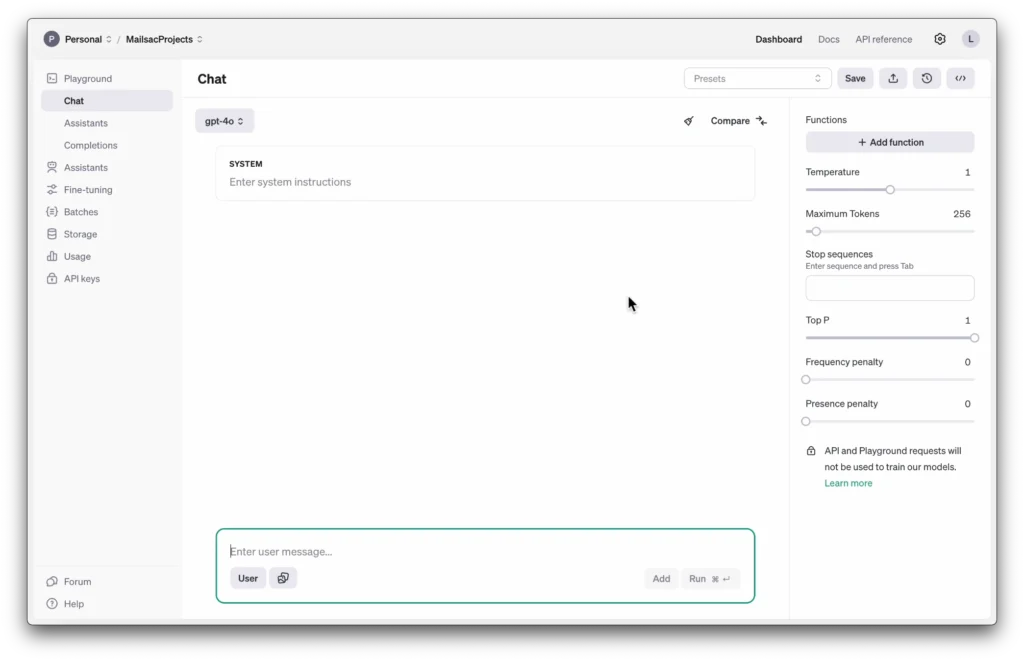
We want to give this AI the ability to generate and run some code and read files, but not necessarily make any autonomous decisions.
For the instructions we’ll give it some system prompts to let it know under what context it should be operating under.
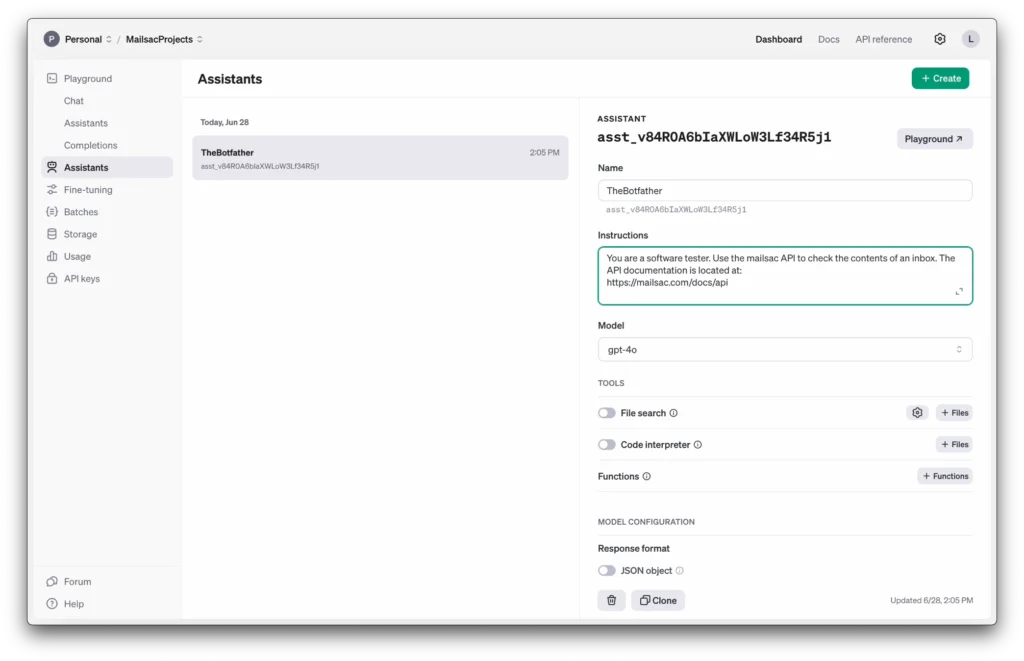
We’ll use the latest gpt-4o model and enable the code interpreter tools. That should allow it to read, run and execute some code for us.
Now let’s go ahead and start generating our test cases.
We’ll use the prompt
You are creating a code test that will return true of false if a certain criteria passes. The language for > all tests should be in javascript. Use dotenv for your API keys.
The criteria is:
- Generate an email message and send it via nodemailer using google’s SMTP servers. Send it to [email protected].
- Wait 2 seconds for the email to send from Google then use the mailsac API to check the subject and
content of the email.- Make the test pass if it matches what was sent in 1 and fail if it doesn’t match.
Keep in mind that you can easily tweak the SMTP to use your own service. We’ll stick with Google’s as its the most accessible for this walkthrough.
Generating the Test Case
Fire it off to the AI Assistant and let it generate the test case. In this run it generated a mocha test for me. In previous iterations it didn’t generate a whole mocha test so I’ll ask it to just use node.
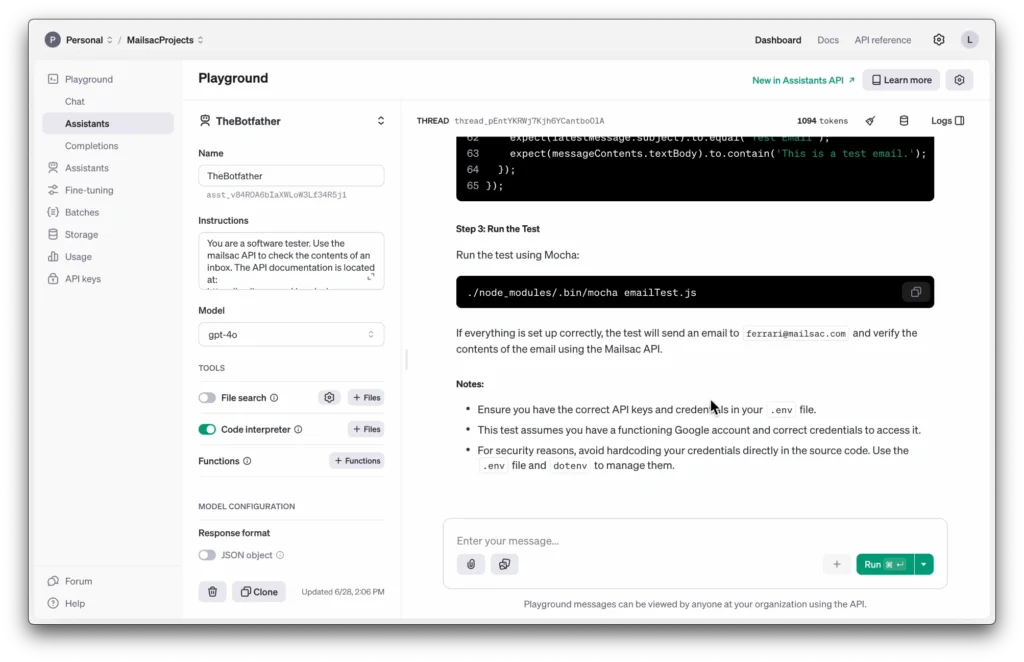
As you can see it pretty much walks you through the whole project creation process. Let’s go ahead and do our setup and install.
mkdir email_test
cd email_test
npm init -y
npm install nodemailer dotenv axios
The libraries it wants to use are pretty standard. (You could make an argument against axios but hey, let’s roll with it).
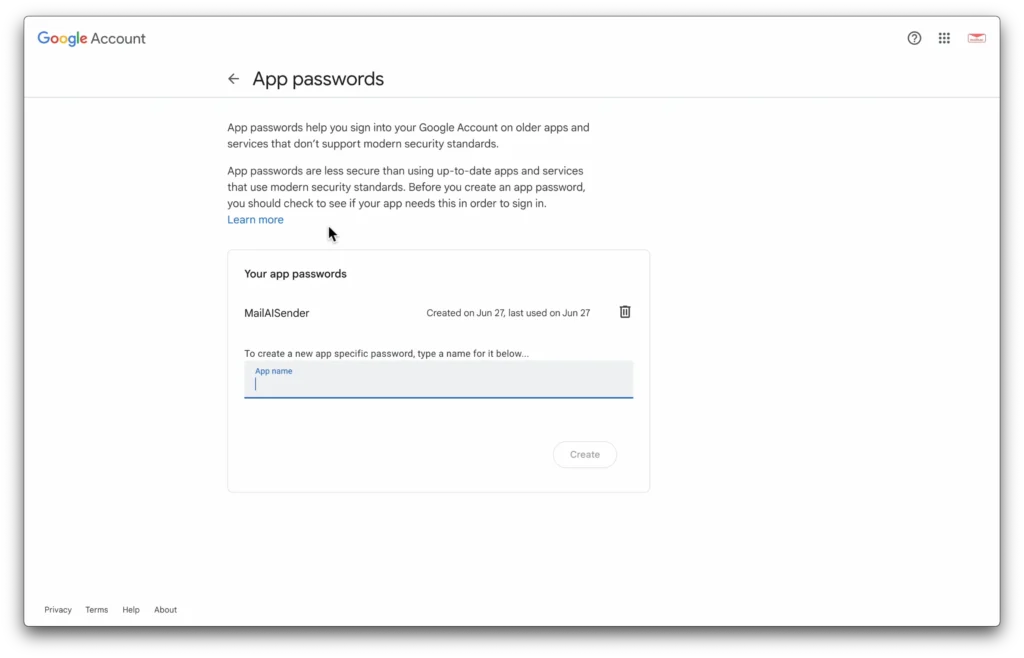
And now we’ll use a .env file to hold our API keys. You’ll need an application password for the google SMTP.
You can find where to add that in your Google account.

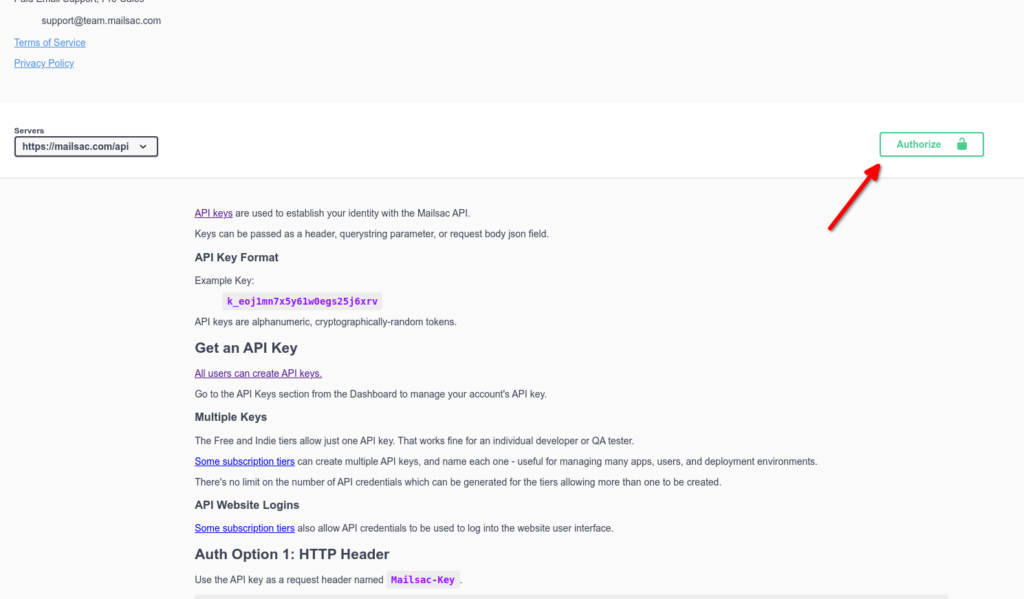
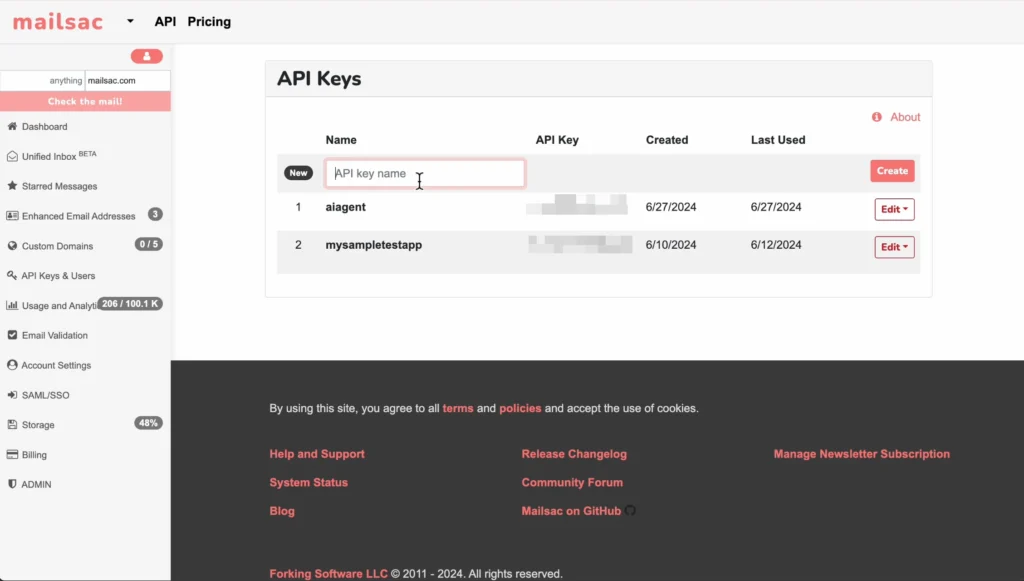
You’ll also need a mailsac key.
The .env file is now:
MAILSAC_API_KEY=your_mailsac_api_key
GOOGLE_EMAIL=your_google_email
GOOGLE_PASSWORD=your_google_email_password
Now copy all of your keys and email onto the .env file.
Let’s start working through the code itself
Code
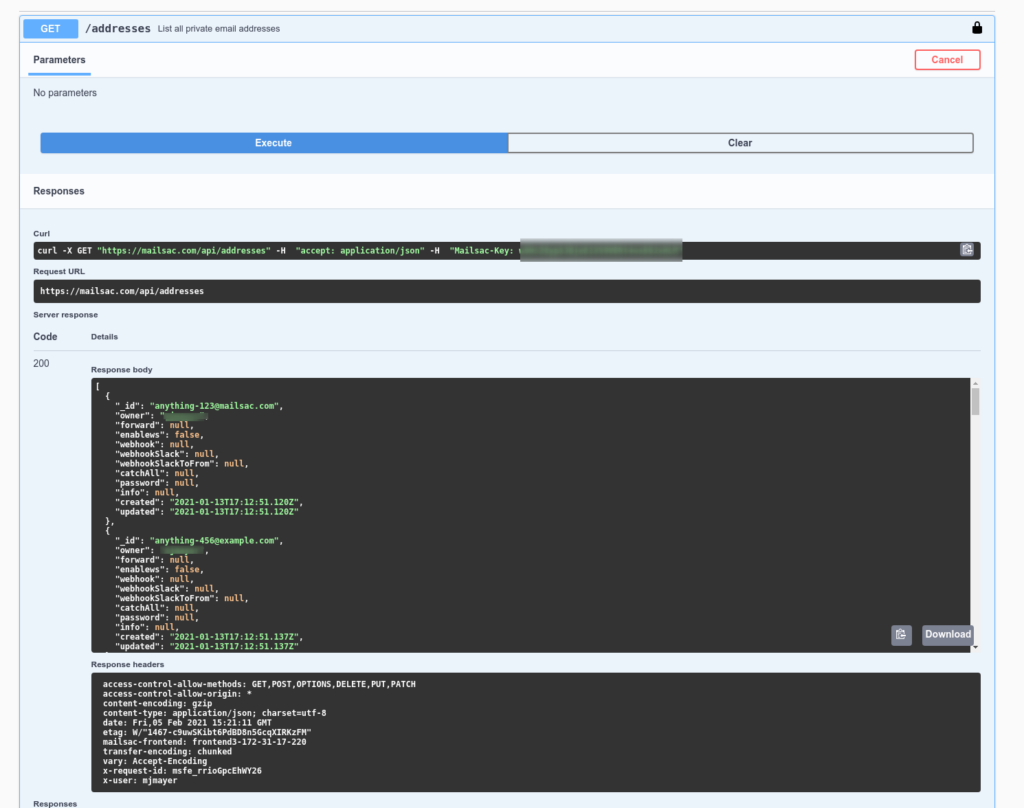
Looking through the code it looks fine, with 2 exceptions: It needs to be guided on the API endpoint (to use /api/text instead of /api/messages) and it the object retrived is the text itself, so we can remove the nonexistant child textBody
Now let’s go ahead and run the test.
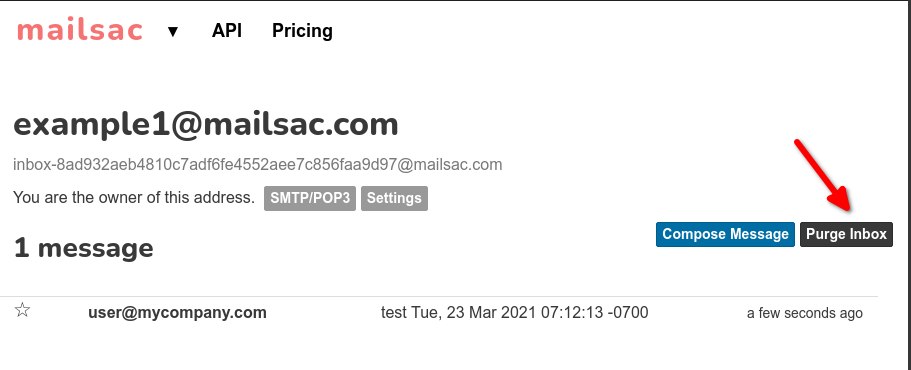
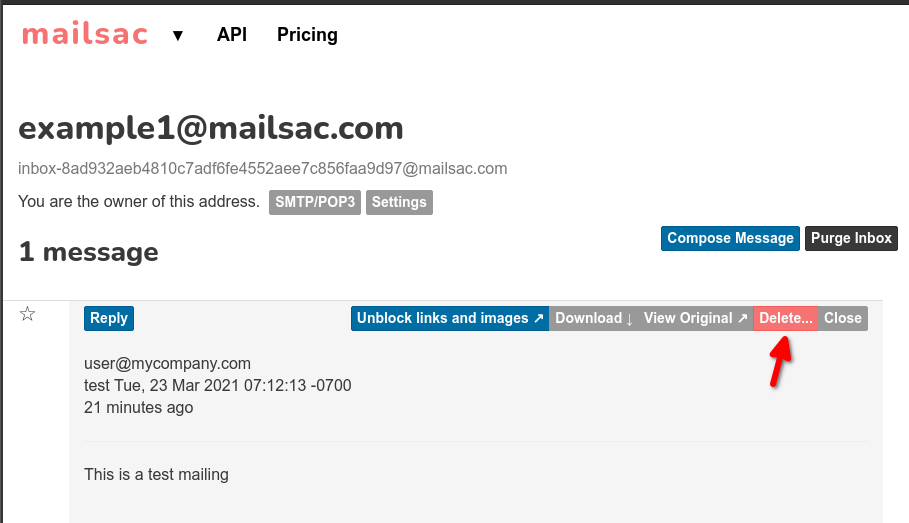
Check on mailsac to visually make sure an email was sent.
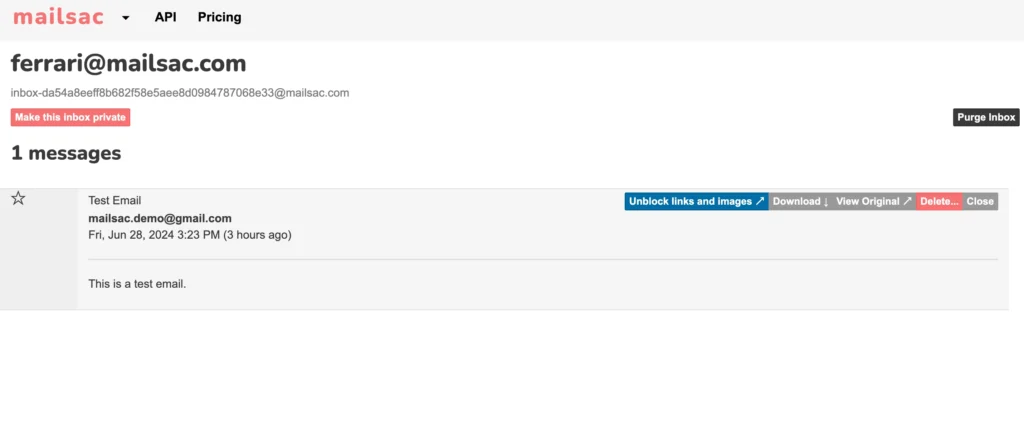
You can even make the test fail on purpose to ensure it’s working as intended.
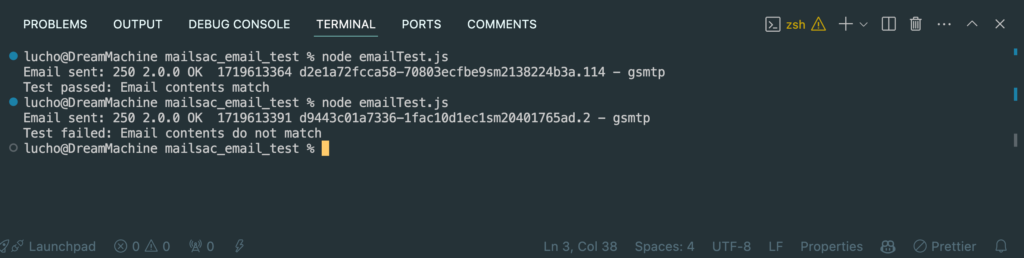
It works!
Extending AI
From here it’s easy to incorporate these kinds of tests into specific continuous integration frameworks of your choice.
You could use cypress and work with existing libraries or an existing framework to run your tests.
Or you could use GitHub actions to fully run your now AI generated tests in the cloud. We have a guide showing you how to do just that.
Conclusion
As you can see it still took a human element to know what to want to test, frame it, and even tweak the AI’s output a bit to make sure that what it was generating made sense.
Tester’s aren’t going anywhere anytime soon, especially if you leverage AI to do the work for you while you focus on whats important to test and why.